Showing posts with label Iphone. Show all posts

Thursday, May 13

Cydia Crash Fix for Iphone / Cydia not working

Hey viewers thanks for visiting here , I actually wrote this out myself on my blog bcz I am facing same problem. Before i get started, a list of a few things will be needed, as I do not want to waste your time, by finding out in the middle of the proccess you do not have access to one of these.

1. WinSCP program (If you do not have this program,please search WinSCP download via Google.com)

2. A WiFi connection (Just a plugged in router is fine, so you iphone can connect to internet via Wireless router)

3. MobileTerminal (Get this Via Cydia/Rock, if you can’t get it ur self no need to worry it’s no big deal)

4. Toggle SSH (Get this Via Cydia/ICY/ ROCK, as you will need "SSH" inorder to use it with WinSCP.)

5. If you are not able get any of my 1) 3) & 4) option than all you need is "Ifile" in your Iphone (Get this via Cydia/ICY/ROCK)

Now, Since we now have everything we need, let’s get started.
First off, open MobileTerminal via your iPhone/iPod Touch, wait for it to load
Upon it loading, type in the following:
"SU"
It will then ask you to login, asking for a password, the password is “alpine” and is typed in as the following:
"alpine"
After entering a password, you will then need to type in the following as so:
"apt-get update"
This will try and resolve the problem, by finding a direct problem with Cydia, what this does, is look for the source, and or application that is corrupt, which is causing Cydia to crash at random.
You will get something as listed below (Example:)
"/var/lib/apt/lists/acuemedia.com_repertgee_cydia_packages"
What this is, is telling you what exactly is the problem with Cydia, whether it be listing an application, or a direct source.
What you do from here is simple.
Your next step is to either write down that source/application, as we will be needing to delete this via WinSCP. ( For reader who dn't have mobile Terminal Please ignore these step)

Skip this step if you received a message stating the source/application.
If you did not get a source or application listed. If you got a messege such as “Fatal” or another stating there was nothing wrong, or you just coulnd’t get it to work at all, in any way shape or form. You are going to have to delete everything in the folder we are going into in the next step, please read on.

Go into your device, whether it be an iPhone, and or iPod Touch, go into Toggle SSH, and enable it.

The solution to this problem is very simple. You just have to delete some files. You can either SSH and use any software like iPhone Browser OR iPhone PcSuite to access your iPhone system files (there are many others which you can use). You can also do it directly delete those files by using MobileFinder OR iFile. I prefer iFile as it has the option to delete multiple files at a time.

I used iFile and directly deleted files from my iPhone . path var/lib/apt/lists. There you have to delete all files except the ‘partial’ folder. I deleted approximately 140 files as I had installed all the repositories. After deleting all the files simply reboot your iPhone and start cydia. It should work fine and no software’s/packages shall be deleted or lost.

Note: This process is tried and tested on my iPhone3g firmware version 3.1.2

Tuesday, May 4

How to use GPRS in your iphone

Hey yo so if you tired of paying higher charges for your Iphone data plan and you are not able to use any normal GPRS Service in your iphone than her is the trickjust simply follow the instruction...

Have tried for Vodafone India – GPRS for iPhone without Data Plan

I have just configured GPRS (Vodafone Live) on my jail broken iPhone which is running 3.0 firmware.

Using OpenSSH (If you are not familiar with Open SSH than just google it), edit preferences.plist located in /private/var/preferences/SystemConfiguration.
Important: Make sure you take a backup of the original preferences.plist.

Around line number 89 (this is appox line number, contents of the file may change based on your phone settings) replace the with below

Update: The below configuration is working on 3.1.2 as well, but the line numbers are little different.


To activate Vodafone Live (GPRS) see Vodafone (Websitehttp://www.vodafone.in/existingusers/vodafonelive/pages/subscribe_n_settings.aspx)


Many guys have complained that the changes that were made in preferences.plist are lost after restarting the iPhone (for versions 3.1.2 and 3.1.3). So today i decided to take a look at it. And what you guys said is absolutely right, today i upgraded my iPhone OS to 3.1.3 and i see that the settings are lost after restarting the phone. And you guys dont worry, i have found a way to fix this. Below are the step by step instructions.

1. Download and Install iPhone Configuration Utility from http://support.apple.com/kb/DL926
2. Open the application, Select Configuration Profiles on the left hand side menu and click New in the toolbar; Enter the name, identifier, organization and description; see the image below for more details


3. Now go to Advanced option and set the apnname = portalnmms, proxy server =10.10.1.100 and port = 9401


4. Connect your iPhone to computer via USB cable and you should see your iPhone in the devices menu on Left hand side. Select your device
5. Select Configuration Profiles tab and you should see the Vodafone Profile; Click on Install


6. You will see a pop on your iPhone asking your permission to install the configuration, Click Install button in your iPhone


7 And you are done with the configuration. You should be able to use internet on your iPhone now. If its not working just reboot your phone.

Thursday, April 29

Manually Configure Gmail IMAP accounts properly in the iPhone

Configuring the Gmail account on an iPhone:


If you are experiencing problems like you have delete messages two times from Iphone and also from Gmail than here is a solution:

Go to the iPhone’s Home screen and launch the Settings application. Select the "Mail, Contacts, Calendars" option now choose "Add Account…" then choose "Other" (The Gmail option listed on this screen is for POP account setup).

Enter a Name, Address, Password and Description, then touch the ‘Save‘ button. Choose the ‘IMAP‘ tab, enter ‘imap.gmail.com‘ as your Incoming Mail Server then enter your User Name (your full email address) and Password Now enter ‘smtp.gmail.com‘ as your Outgoing Mail Server, then enter your User Name (your full email address) and Password, then touch the ‘Save‘ button again.

Once account setup has finished, go to the main screen of the Settings application, choose your email account, and select the ‘Advanced‘ item.

Change your ‘Drafts Mailbox‘, ‘Sent Mailbox‘, and ‘Deleted Mailbox‘ settings to their respective folders where you want in ‘[Gmail]‘,For Eg: If I want that my Deletd Mail should be shown in trash in my Gmail server than Just simply select TRASH in "DELETED MAILBOX" then change the ‘Remove‘ setting to ‘Never‘. Change the ‘IMAP Path Prefix‘ setting to [Gmail].


Saturday, February 27

ibluetooth for iphone 3g

These are instructions on how to install and use iBluetooth, an application which enables bluetooth file transfer on the iPhone.

Step One
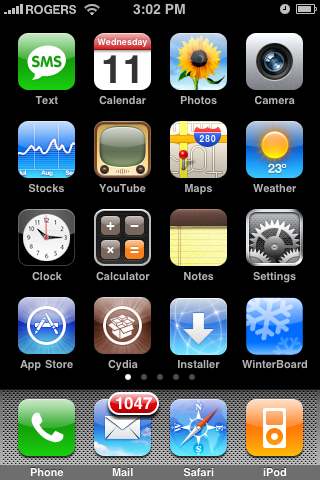
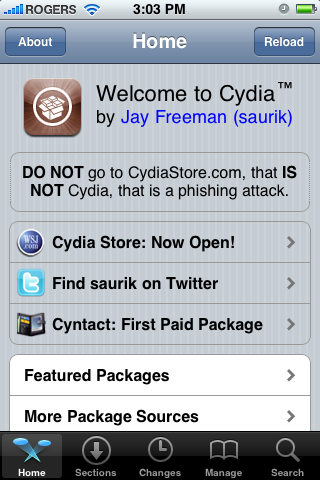
Press to launch Cydia from your SpringBoard


Step Two
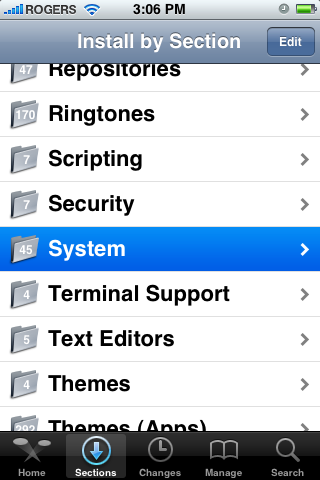
Press to select the Sections tab at the bottom of the screen


Step Three
Press to choose System from the list of Sections.


Step Four
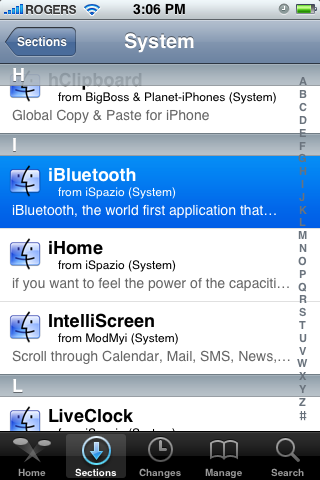
Press to select iBluetooth from the list of Packages


Step Five
Press the Install button at the top right of the screen.

Step Six
Press the Confirm button at the top right of the screen to begin installation.

Step Seven
Once the installation has completed successfully. Press the large Return to Cydia button

Step Eight
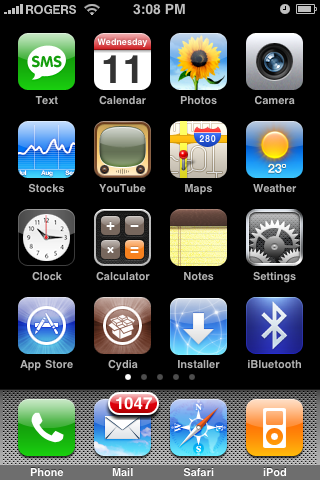
Press the Home button to return to your SpringBoard. Notice we now have a new iBluetooth icon.

Step Nine
Press to launch Settings from your SpringBoard.

Step Ten
Press to choose General from the Settings Menu.

Step Eleven
Press to select Bluetooth from the General Menu.

Step Twelve
Move the Bluetooth toggle switch to the ON position.

Step Thirteen
Press the Home button to return to the Springboard then press the iBluetooth icon.


Step Fourteen
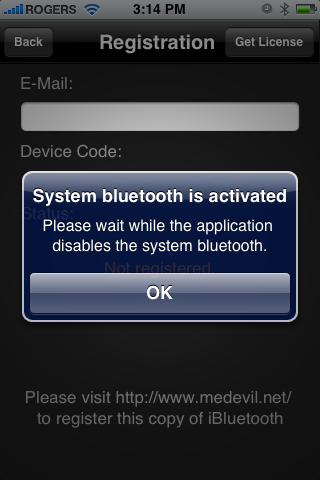
iBluetooth will start and inform you that it is disabling the system bluetooth. Note*: I had to enable the system bluetooth to successfully start iBluetooth. Press the large OK button.


Step Fifteen
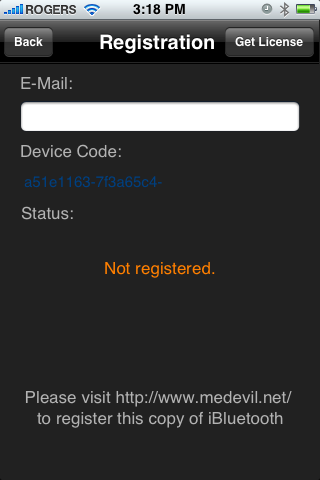
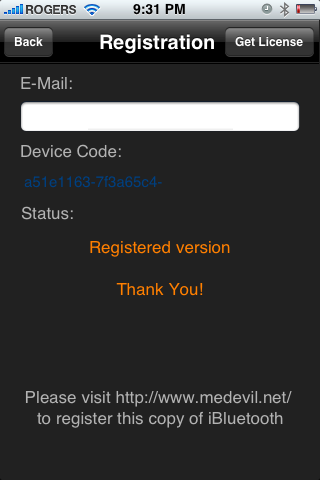
You will now be asked to register by visiting http://www.medevil.net. Register on the site then come back and press the Get License button at the top right of the screen.


Step Sixteen
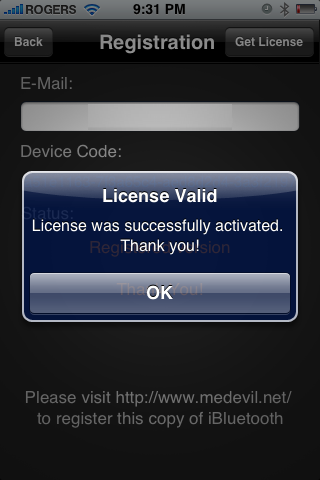
A popup will appear to let you know your license is valid. Press the large OK button.


Step Seventeen
Press the Back button at the top left of the screen.


Step Eighteen
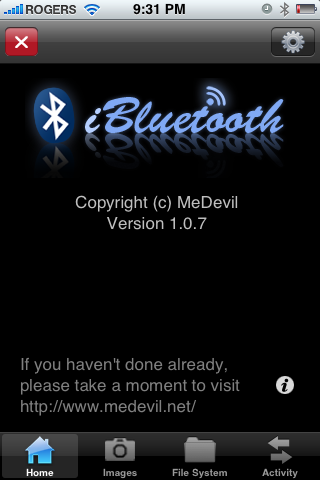
From the iBluetooth Home Tab press the Settings icon at the top right of the screen.

Step Nineteen
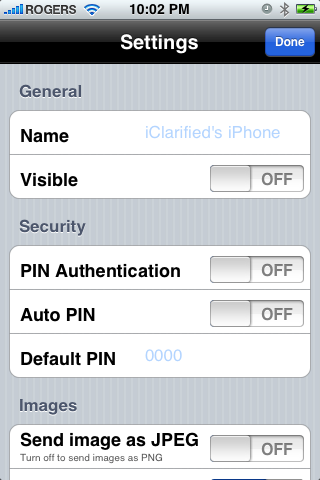
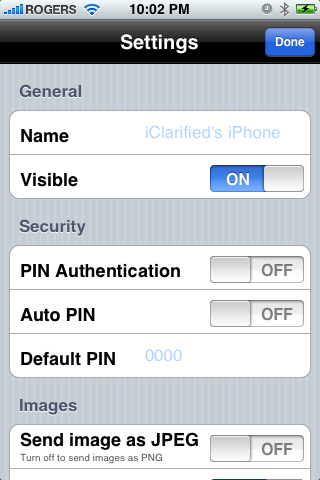
From the settings menu you can change the name and visibility of your iPhone.

You can also set a PIN for allowing incoming bluetooth connections.

Under the images section you can choose to send images as jpg instead of png. Also you can select to have images saved in your photo library.

From the file system section you can decide to show hidden files and set the save path and ftp root path.

Press Done to return to the iBluetooth Home screen.


SEND AN IMAGE
Press the Images tab to open your photo albums.


Press Photo Library to open the album.


Press to select a photo you would like transfered via bluetooth.

From the photo preview press the send icon at bottom center of the image.

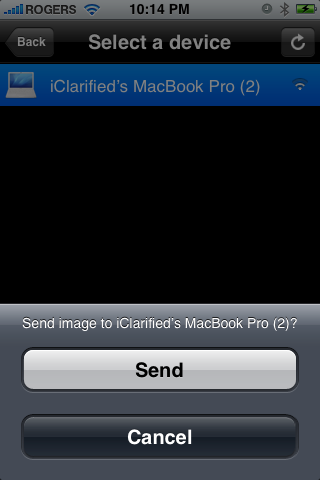
iBluetooth will now search for nearby bluetooth devices. Press to select one from the list

To send the image press the large Send button that appears.


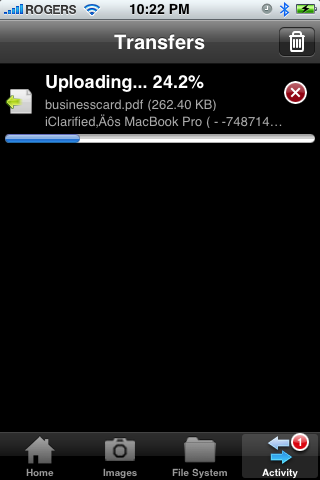
A number 1 will appear over the Activity Tab. Press to select it.

Notice that the file progress is shown.

Once the file transfer is complete you can press the Trash icon to remove it from the activity log

SEND A FILE
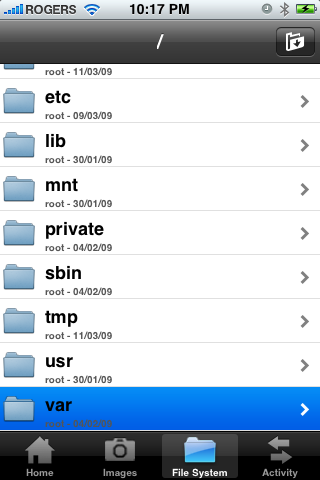
Press the Files tab to open the file system browser

Navigate to the folder that contains the file you would like to send. I am going to select a file from the /var/mobile/Documents folder.


Press to select the filename you would like to send.

iBluetooth will now search for nearby bluetooth devices. Press to select one from the list.

To send the file press the large Send button that appears.

Once the receiver accepts your transfer you will see the transfer progress shown under the Activity Tab.


When the file transfer is complete you can press the Trash icon to remove it from the activity log.

RECEIVE A FILE
To receive a file from another bluetooth device make sure your iPhone is visible so the other device can find you.


When you are sent a file iBluetooth will notify you of an incoming file transfer. Press the Save As button to select the download location.

iBluetooth will open to the file system browser.

You can now set the name for the incoming file. To set the directory, simply navigate to the folder you would like to save the file in. Press the Done button to start the transfer.

But if You want to tranfer Music

To send a few music files from my iphone to pc..they were located in the filesystem tab in the ibluetooth programe (havent tried a vid swap yet tho) The trouble is when you get to the audio files, you never realy know what track your sending as there are no titles....just numeric jiberish. Wonder if anyone knows a way around this?

But if you navigate to filesystem>private>var>mobile>media you should be able to locate your audio/video files